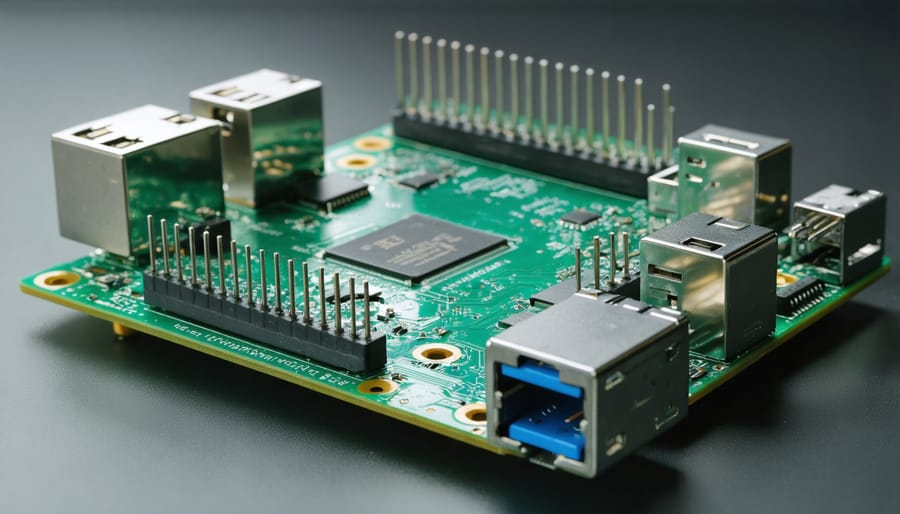
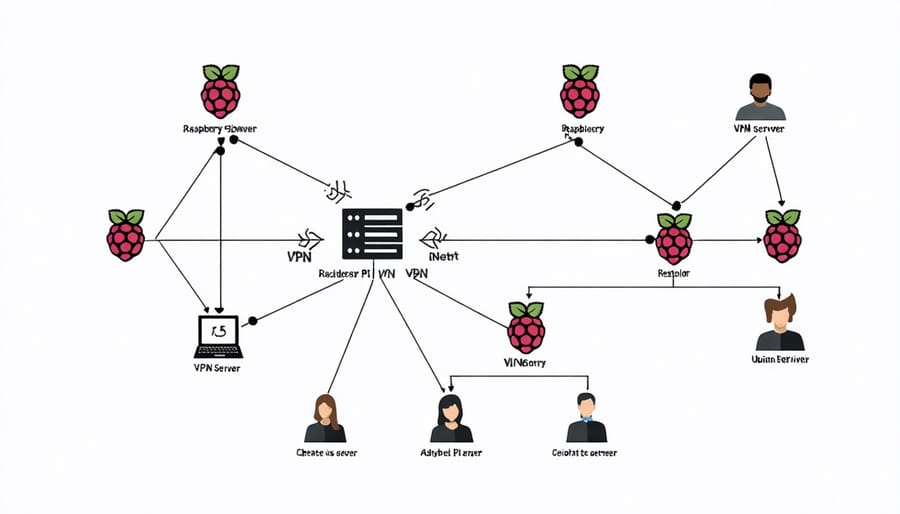
Unlock the power of networking with Raspberry Pi, the credit card-sized computer that’s revolutionizing DIY projects. From setting up web servers and VPNs to building network monitoring tools and ad-blocking solutions, Raspberry Pi offers endless possibilities for tech enthusiasts and hobbyists alike. Dive into our comprehensive collection of step-by-step tutorials, comparison articles, and hands-on projects that will help you master the art of networking with Raspberry Pi. Whether you’re a beginner looking to get started or an experienced user seeking advanced techniques, our expert-crafted content will guide you through the process, enabling you to create powerful, customized networking solutions that showcase your skills and creativity.
Project 1: Raspberry Pi Web Server

Hardware Requirements
To get started with Raspberry Pi networking projects, you’ll need a Raspberry Pi board (3, 4, or Zero W), a power supply, an SD card (8GB+), and an Ethernet cable or Wi-Fi adapter. Depending on the project, you may also require additional components like a USB Wi-Fi adapter, external storage devices, or a camera module.
Software Installation
To install the required software packages for your Raspberry Pi networking project, start by updating the system using the commands `sudo apt update` and `sudo apt upgrade`. Next, install the specific packages for your project, such as Apache for a web server (`sudo apt install apache2`), OpenVPN for a VPN server (`sudo apt install openvpn`), or Samba for network storage (`sudo apt install samba`). Some projects may require additional packages like PHP, MySQL, or specific libraries, which can be installed using the `apt` package manager. Remember to follow the project’s documentation for any specific installation instructions or dependencies. With the necessary software installed, you’ll be ready to configure and deploy your Raspberry Pi networking project.
Configuration and Testing
To configure your Raspberry Pi web server, start by installing the necessary software packages, such as Apache, PHP, and MySQL, using the command line. Modify the configuration files to customize settings like the document root, port number, and enabled modules. Create a simple HTML file in the web server’s directory to test its functionality.
Access the web server from another device on the network by entering the Raspberry Pi’s IP address in a web browser. If the test page loads successfully, your web server is up and running. To enable access from outside your local network, configure port forwarding on your router and set up a dynamic DNS service.
For remote administration, consider using VNC remote access or SSH. Ensure that your web server is secure by installing an SSL certificate, enabling firewall rules, and keeping software up to date. Regularly monitor your web server’s performance and logs to identify any issues or potential security threats.
Project 2: Raspberry Pi VPN Server

OpenVPN Installation
Installing OpenVPN on your Raspberry Pi is a straightforward process. Begin by updating your system packages and installing the necessary dependencies. Next, download the OpenVPN installation script and run it with sudo permissions. The script will guide you through the configuration process, prompting you to enter your desired settings, such as the OpenVPN port and DNS server. Once the installation is complete, you can start the OpenVPN service and configure your client devices to connect to your Raspberry Pi VPN server. By hiding your IP address and encrypting your internet traffic, OpenVPN on Raspberry Pi provides a secure and private networking solution for your projects.
Server Configuration
To configure your VPN server settings on the Raspberry Pi, begin by accessing the server configuration file using a text editor such as nano. Locate the settings for the VPN protocol you’ve chosen (e.g., OpenVPN, WireGuard) and update the necessary parameters, including the server IP address, port number, and encryption settings. Be sure to set a strong encryption algorithm and key size for enhanced security. Next, configure the authentication method, such as pre-shared keys or certificates, and generate the required files. Finally, adjust the server’s firewall rules to allow incoming VPN connections and enable IP forwarding to route traffic properly. Save the configuration file and restart the VPN service for the changes to take effect.
Client Setup and Testing
To set up VPN clients, install the appropriate VPN software on your devices, such as OpenVPN or WireGuard. Follow the provider’s instructions to configure the connection settings, including the server address, port, and authentication details. Once configured, connect to the VPN server using the client software.
To test the connection, first, verify that the VPN client is connected to the server. Then, check your public IP address using a website like WhatIsMyIP.com. It should display the VPN server’s IP address instead of your own. Finally, test the connection speed and stability by running a speed test or accessing geo-restricted content to ensure the VPN is working as expected.
Project 3: Raspberry Pi Network Monitoring Tool
Software Options
When it comes to network monitoring on your Raspberry Pi, you have several powerful software options at your disposal. One popular choice is Nagios, an open-source monitoring system that keeps an eye on your network infrastructure, servers, and services. Its user-friendly web interface and extensive monitoring capabilities make it a top pick for many Pi enthusiasts. Another excellent option is Cacti, which focuses on graphing network data collected via SNMP. Its intuitive interface and flexible graphing options provide valuable insights into your network’s performance. For a lightweight alternative, consider Monit, a compact yet feature-rich monitoring tool that keeps tabs on system resources, processes, and services, ensuring your Pi-powered network stays in tip-top shape.
Installation and Configuration
To install and configure the software for your Raspberry Pi networking project, start by ensuring your Pi is running the latest version of Raspbian. Open the terminal and update the system using the commands “sudo apt update” and “sudo apt upgrade”. Next, install the required software packages specific to your project. For example, if you’re setting up a web server, install Apache using “sudo apt install apache2”. Configure the software by editing the relevant configuration files, such as “/etc/apache2/apache2.conf” for Apache. Modify settings like port numbers, directories, and permissions to suit your project’s needs. If you’re setting up a VPN server, install OpenVPN and generate the necessary keys and certificates. For a network monitoring tool, install and configure software like Nagios or Icinga. Refer to the project’s official documentation for detailed installation and configuration instructions specific to your chosen software. Test your setup to ensure everything is working as expected before proceeding with your Raspberry Pi networking project.

Project 4: Raspberry Pi Network Storage Server
Software Installation
To install the necessary software packages for your Raspberry Pi networking project, start by updating your system with the command “sudo apt update && sudo apt upgrade”. Next, depending on your specific project, you may need to install packages such as Apache for web servers, OpenVPN for VPNs, or Samba for file sharing. For example, to install Apache, use the command “sudo apt install apache2”. Similarly, install other packages using the appropriate apt commands. Additionally, you might need to install programming languages like Python or libraries like OpenCV, which can be done using pip or apt. Consult project tutorials for specific software requirements and installation instructions.
Configuration and Access
To configure your Raspberry Pi storage server, start by installing and setting up the necessary software, such as Samba for file sharing or NextCloud for cloud storage. Modify the configuration files to specify the storage location, user access permissions, and security settings. Create user accounts and set appropriate permissions for each user or group.
Once configured, you can access the storage server from other devices on your network. For Samba, use the IP address or hostname of your Raspberry Pi and the designated share name. You can mount the share on Linux, access it through the file explorer on Windows, or use the “Connect to Server” option on macOS. If using NextCloud, access the web interface using your Raspberry Pi’s IP address and log in with your credentials. You can then sync files, manage shares, and collaborate with others. Ensure your Raspberry Pi has a static IP address for consistent access.
Project 5: Raspberry Pi Network Ad-Blocker
Software Options
When setting up a Raspberry Pi as a network ad-blocker, you have several software options to choose from. Pi-hole is a popular, open-source solution that acts as a DNS sinkhole, blocking ads and trackers at the network level. It offers a user-friendly web interface for configuration and monitoring. Another option is AdGuard Home, which provides similar functionality with additional features like parental controls and HTTPS filtering. Both Pi-hole and AdGuard Home are lightweight, efficient, and compatible with Raspberry Pi. They can significantly reduce the number of ads and trackers on your network, improving browsing speed and privacy.
Installation and Configuration
To install and configure the ad-blocking solution on your Raspberry Pi, start by updating your system using the commands `sudo apt update` and `sudo apt upgrade`. Next, install the necessary dependencies, such as `apt-get install dnsutils`. Download the ad-blocking software package and extract it to a directory of your choice. Open the configuration file and customize settings like the DNS server, blocklists, and whitelists to suit your preferences. Save the changes and start the ad-blocking service using the provided command. Finally, configure your network devices to use the Raspberry Pi as their DNS server by modifying their network settings. With these steps, you’ll have a fully functional ad-blocking solution running on your Raspberry Pi.
Project 6: Raspberry Pi Network Security Camera
Hardware Requirements
For these Raspberry Pi networking projects, you’ll need a Raspberry Pi board (3B+ or 4 recommended), power supply, microSD card, and Ethernet cable. Depending on the project, additional components may include a USB Wi-Fi adapter, external hard drive or SSD, camera module, and breadboard with jumper wires. Having a keyboard, mouse, and monitor for initial setup is also helpful.
Software Installation and Configuration
To set up your Raspberry Pi security camera, start by installing the necessary software. The most popular option is MotionEyeOS, a Linux distribution specifically designed for video surveillance. Download the MotionEyeOS image and flash it to your SD card using a tool like Etcher. Once the installation is complete, insert the SD card into your Raspberry Pi and power it on.
Next, connect your Raspberry Pi to your network using an Ethernet cable or Wi-Fi. Open a web browser on another device and enter the IP address of your Raspberry Pi to access the MotionEyeOS web interface. From here, you can configure your camera settings, such as resolution, frame rate, and motion detection sensitivity.
If you’re using a USB camera, simply plug it into your Raspberry Pi. For a Pi Camera Module, connect it to the CSI port on your Raspberry Pi. In the MotionEyeOS web interface, select your camera type and configure any additional settings as needed. With the software installed and configured, your Raspberry Pi security camera is ready to monitor your home or office.
Project 7: Raspberry Pi Network Media Server
Software Options
When setting up a media server on your Raspberry Pi, you have several software options to choose from. Kodi (formerly XBMC) is a popular, open-source media center software that offers a user-friendly interface and extensive customization options through add-ons. Plex Media Server is another well-known choice, allowing you to organize and stream your media collection across various devices. Emby is a similar alternative to Plex, providing a sleek interface and robust features for managing and streaming your media. Jellyfin, a free and open-source fork of Emby, is also gaining popularity among Raspberry Pi users seeking a self-hosted media server solution.
Installation and Configuration
To install and configure your chosen media server software on your Raspberry Pi, start by downloading the appropriate installation package from the official website. Once downloaded, transfer the file to your Raspberry Pi using an FTP client or SSH. Next, open the terminal and navigate to the directory containing the installation package. Run the installation script following the on-screen prompts, ensuring you have the necessary dependencies installed. After installation, access the web-based configuration interface by entering your Raspberry Pi’s IP address and the designated port number in a web browser. From there, customize settings such as media library paths, user accounts, and transcoding options to suit your preferences. Finally, restart the media server service for the changes to take effect.
Conclusion
In conclusion, using Raspberry Pi for networking projects offers a wealth of benefits. Its affordable price, versatility, and extensive community support make it an ideal platform for experimenting with various networking concepts and applications. By following the projects outlined in this article, you can gain hands-on experience in setting up web servers, VPNs, network monitoring tools, and more. These projects not only enhance your understanding of networking fundamentals but also provide practical solutions for your home or small office network. As you continue to explore the capabilities of Raspberry Pi, you’ll discover endless possibilities for creating innovative and efficient networking solutions. Discover more about some exciting projects in 10 Mind-Blowing Raspberry Pi Projects to Unleash Your Inner Inventor. So, grab your Raspberry Pi and start building your own networking projects today!


