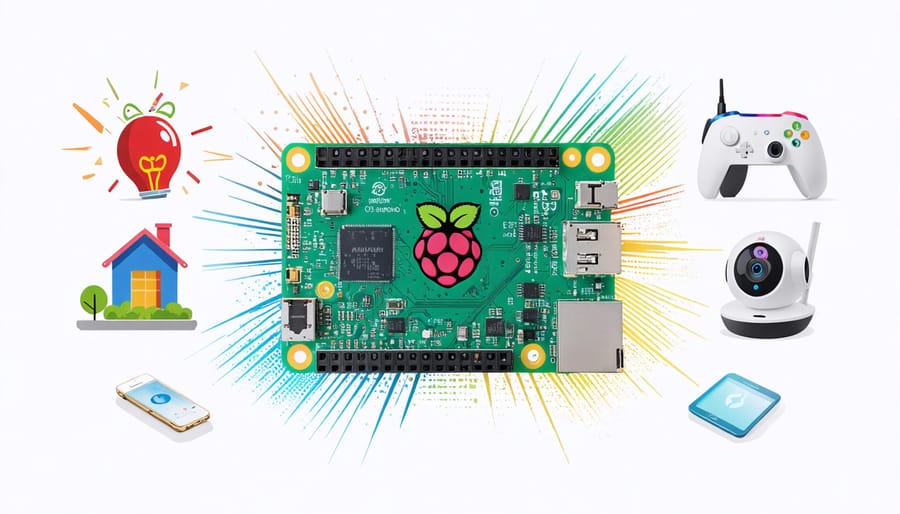
Transform your tech journey with beginner-friendly Pi Zero projects that pack powerful computing into a credit card-sized board. Start with simple LED blinking projects to master GPIO pins and basic Python programming. Graduate to building a retro gaming console using RetroPie, turning your Pi Zero into a portable entertainment system. Create an automated smart home hub that controls lights, monitors temperature, and manages security cameras—all for under $30 in components.
The Raspberry Pi Zero’s compact size, low power consumption, and $10 price tag make it perfect for first-time makers. Whether you’re a student, hobbyist, or curious technologist, these projects provide hands-on experience with Linux systems, electronics fundamentals, and practical programming skills. Each project builds upon the last, developing your expertise while creating useful gadgets that showcase the Pi Zero’s versatility.
Getting Started: Essential Setup for Your Pi Zero
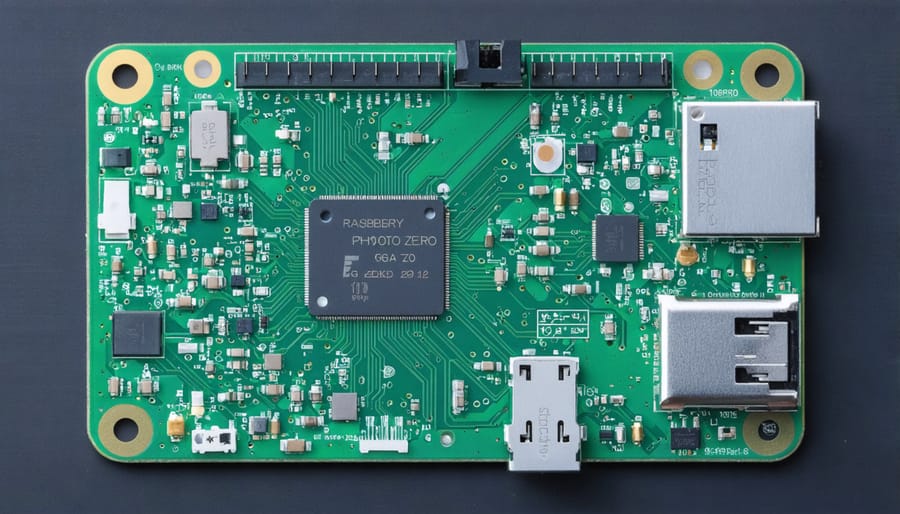
Required Materials and Tools
To get started with Raspberry Pi Zero projects, you’ll need some essential components and tools. First and foremost, you’ll need a Raspberry Pi Zero or Pi Zero W (wireless version), which serves as the core of all your projects. A reliable power supply (5V/2.5A micro-USB) and a microSD card (8GB minimum, Class 10 recommended) are crucial for basic functionality.
For display and input, gather a mini-HDMI to HDMI adapter or cable, a micro-USB to USB adapter for connecting peripherals, and a basic USB keyboard and mouse. If you’re using the non-wireless Pi Zero, you might want to add a USB Wi-Fi adapter.
Essential tools include a small Phillips head screwdriver, needle-nose pliers, and a basic soldering iron with solder (for advanced projects). Having a few jumper wires, breadboard, and basic electronic components like LEDs and resistors will expand your project possibilities.
For protection and mounting, consider getting a case for your Pi Zero and some standoff screws. Don’t forget to have a computer nearby for initial setup and programming. Most of these items are affordable and readily available from electronics retailers or online marketplaces.
Initial Setup and Configuration
Before diving into exciting projects, let’s ensure your Raspberry Pi Zero is properly set up. Start by downloading the latest Raspberry Pi OS from the official website. You’ll need a microSD card (8GB minimum, but 16GB or larger is recommended), a micro-USB power supply, and a computer with an SD card reader.
Insert your microSD card into your computer and use the Raspberry Pi Imager tool to flash the OS onto it. This user-friendly tool simplifies the process and ensures a reliable installation. Once complete, safely eject the card and insert it into your Pi Zero.
For first-time setup, you’ll need to connect a mini-HDMI display, USB keyboard, and power supply. When powered on, your Pi Zero will boot into the initial configuration screen. Follow the prompts to set your language, timezone, and create a password for the default ‘pi’ user.
Enable SSH and WiFi through the configuration menu if you plan to access your Pi Zero remotely. This will allow you to work on projects without constantly needing a display and keyboard connected. Finally, update your system by opening the terminal and running ‘sudo apt update’ followed by ‘sudo apt upgrade’.
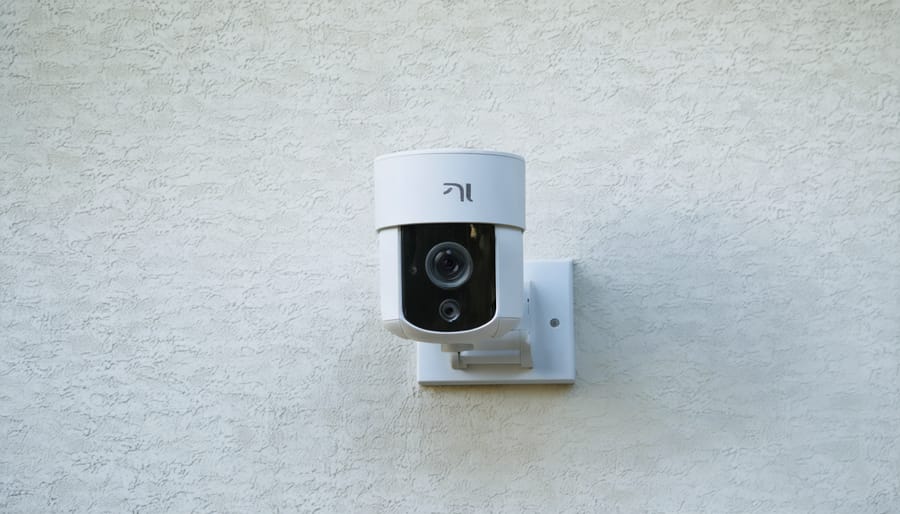
Project 1: Smart Security Camera
Components Needed
To build your own Pi Zero security camera, you’ll need these essential components:
• Raspberry Pi Zero W (wireless version recommended)
• Raspberry Pi Camera Module V2 or compatible camera
• MicroSD card (8GB or larger)
• Micro USB power supply (5V/2.5A)
• Camera ribbon cable (compatible with Pi Zero)
• Small project case or enclosure
• Basic tools (screwdriver, scissors)
• Optional components:
– Battery pack for portable use
– Motion sensor (PIR)
– Small tripod or mounting bracket
– USB WiFi adapter (if not using Pi Zero W)
Make sure all components are compatible with the Raspberry Pi Zero before purchasing. Quality matters, particularly for the power supply and camera module.
Step-by-Step Assembly
Begin by gathering your Raspberry Pi Zero, camera module, and connecting ribbon cable. Ensure your Pi is powered off before starting. Locate the camera port on your Pi Zero – it’s the small black connector near the mini HDMI port. Gently lift the black clip on the connector by pulling it upward.
Take your camera ribbon cable and insert it into the port with the blue side facing the USB port. The silver connectors should face the HDMI port. Press down on the black clip to secure the connection. Now, connect the other end of the ribbon cable to your camera module using the same technique.
Power up your Pi Zero and open the terminal. Enable the camera interface by typing:
sudo raspi-config
Navigate to “Interfacing Options,” select “Camera,” and choose “Yes” to enable it.
Test your camera setup with the following command:
raspistill -o test.jpg
This will capture a test image and save it as “test.jpg” in your home directory. If you see the image, congratulations! Your camera is working correctly. If not, double-check your cable connections and ensure the camera interface is enabled.
For better image quality, adjust camera settings like exposure and white balance using raspistill parameters. Common options include -ex for exposure mode and -awb for white balance settings.
Project 2: Retro Gaming Console
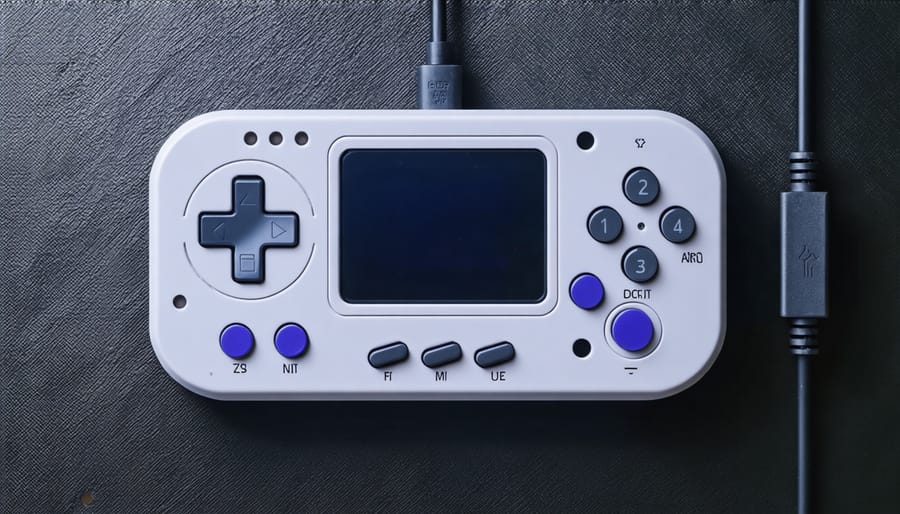
Required Components
To get started with your Raspberry Pi Zero gaming console project, you’ll need the following essential components: a Raspberry Pi Zero W (wireless version recommended), a microSD card (16GB or larger), a micro-USB power supply (5V/2.5A), a mini-HDMI to HDMI adapter or cable, and a USB OTG adapter. For controls, gather a USB gamepad or keyboard, plus optional arcade-style buttons and a joystick if you’re building a custom controller.
You’ll also need basic tools like a screwdriver set, wire strippers, and a soldering iron with solder. For the case, either purchase a pre-made gaming housing or prepare materials for a custom build, such as a 3D-printed case or acrylic sheets. Don’t forget jumper wires, a breadboard for testing, and zip ties for cable management.
Assembly Instructions
Begin by gathering all your components: Raspberry Pi Zero, microSD card, micro-USB power supply, HDMI adapter, and your chosen game controller. Start with the retro gaming console setup by inserting the microSD card pre-loaded with RetroPie into your Pi Zero.
Connect the HDMI adapter to your Pi Zero, then attach it to your display using a standard HDMI cable. Next, plug your game controller into one of the micro-USB ports – if using a wireless controller, insert its USB receiver. For power, connect the micro-USB power supply to the dedicated power port.
Once powered on, RetroPie will begin its first-boot configuration. Follow the on-screen prompts to configure your controller, which involves pressing each button as indicated. This process maps your controller’s buttons to the emulator’s controls.
After controller setup, you’ll need to transfer your ROM files. Connect your Pi Zero to your local network either via USB networking or a USB Wi-Fi adapter. Use SFTP to transfer your game files to the appropriate ROM folders on your Pi.
Finally, restart your system to ensure all changes take effect. Your gaming console is now ready to play! Remember to safely shutdown your Pi Zero using the menu option rather than unplugging it directly to prevent data corruption.
Project 3: Smart Home Controller
Materials List
To get started with basic home automation projects, you’ll need these essential components:
• Raspberry Pi Zero W (with built-in WiFi)
• 8GB or larger microSD card
• 5V/2.5A micro-USB power supply
• DHT22 temperature and humidity sensor
• PIR motion sensor
• Relay module (2 or 4 channel)
• Smart LED bulb (compatible with your home network)
• Jumper wires (male-to-female and male-to-male)
• Mini breadboard
• USB OTG adapter
• Mini HDMI to HDMI adapter
• Basic tools (screwdriver, wire stripper)
• Optional: Small case for the Raspberry Pi Zero
These components are readily available from electronics suppliers and should cost around $50-70 total, depending on your location and chosen retailers.
Setup and Configuration
Before diving into specific projects, let’s set up your Raspberry Pi Zero properly. Start by gathering the essential components: a Raspberry Pi Zero board, a microSD card (8GB or larger), a micro-USB power supply, and a micro-USB to USB adapter for connecting peripherals.
First, download the Raspberry Pi Imager tool from the official website to your computer. Launch the imager and select Raspberry Pi OS Lite for the most efficient performance on the Pi Zero. Choose your microSD card as the target drive and write the operating system image.
Once the imaging is complete, insert the microSD card into your Pi Zero. Connect a keyboard and mouse using the micro-USB adapter, and hook up a display via the mini-HDMI port. Power up your Pi Zero using the micro-USB power supply.
During the first boot, you’ll need to configure basic settings. Use the default login credentials (username: pi, password: raspberry) and run the configuration tool by typing ‘sudo raspi-config’ in the terminal. Here, set up your Wi-Fi connection, enable SSH for remote access, and adjust other preferences like timezone and keyboard layout.
Consider installing essential software packages using the command ‘sudo apt-get update && sudo apt-get upgrade’ to ensure your system is up to date. This foundation will prepare your Pi Zero for any beginner projects you want to tackle.
Project 4: Digital Photo Frame
Required Items
To build your Raspberry Pi Zero digital photo frame, you’ll need several essential components. First, gather a Raspberry Pi Zero W (with built-in WiFi), a microSD card (8GB or larger), and a compatible power supply (5V/2.5A recommended). For display, you’ll need a small HDMI monitor or screen, along with a mini-HDMI to HDMI adapter. Don’t forget a micro-USB OTG adapter and a basic USB keyboard and mouse for initial setup.
For the frame itself, you’ll need a picture frame that can accommodate both your display and the Raspberry Pi Zero. Optional but recommended items include a case for the Raspberry Pi Zero, adhesive mounting strips or brackets, and short HDMI and power cables to keep everything neat. Basic tools like a screwdriver and wire strippers might also come in handy during assembly.
Build Instructions
Begin by gathering your materials: a Raspberry Pi Zero W, a microSD card (8GB or larger), a 5V micro-USB power supply, a digital photo frame or small display, and a case. First, flash the Raspberry Pi OS Lite onto your microSD card using the Raspberry Pi Imager tool, which you can download from the official website.
Before inserting the microSD card, create an empty file named ‘ssh’ in the boot partition to enable SSH access. Also, create a ‘wpa_supplicant.conf’ file with your Wi-Fi credentials. This allows for headless setup without needing a keyboard or monitor initially.
Insert the microSD card into your Pi Zero and connect the power. Wait about 2 minutes for the initial boot sequence. Using your computer, SSH into the Pi with the default credentials (username: pi, password: raspberry). Run ‘sudo raspi-config’ to change the default password and enable any necessary interfaces.
Install the required software by running:
“`
sudo apt-get update
sudo apt-get install feh
“`
Create a directory for your photos and transfer them to the Pi using SFTP. Set up a simple slideshow script that runs at startup. If you’re interested in expanding your Pi projects, check out our DIY weather station guide for another exciting weekend project.
Finally, mount your display and secure everything in the case. Your digital photo frame is now ready to showcase your favorite memories!
Project 5: Weather Station
Components List
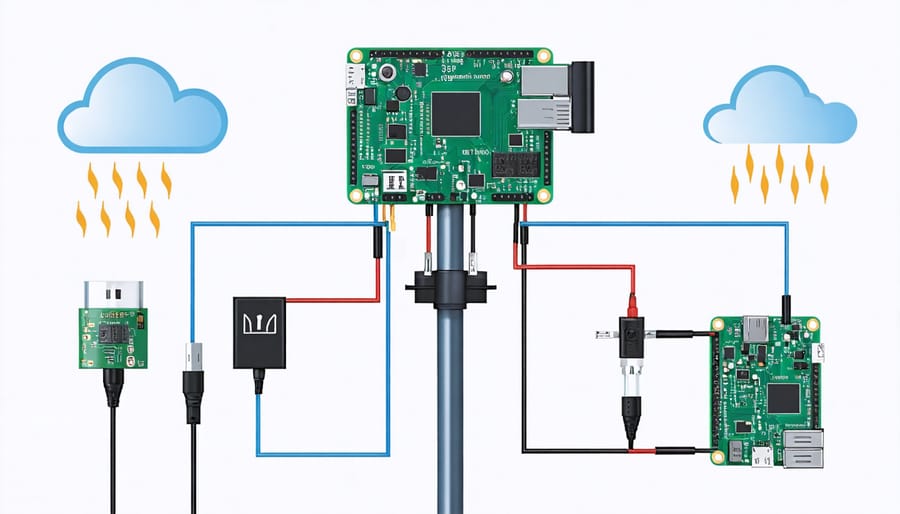
To build your Raspberry Pi Zero weather station, you’ll need the following components: A Raspberry Pi Zero W (with Wi-Fi capability), a microSD card (8GB or larger), a DHT11 or DHT22 temperature and humidity sensor, a BMP280 pressure sensor, a small breadboard, male-to-female jumper wires, and a micro-USB power supply (5V/2.5A recommended). For housing your project, gather a weatherproof case or container, mounting hardware, and optionally, a small OLED display for local readings. Don’t forget basic tools like a small screwdriver set and wire strippers. If you’re planning to power your station outdoors, consider adding a solar panel kit with a battery pack for continuous operation.
Assembly Guide
Start by gathering all your components: the Raspberry Pi Zero, DHT11 temperature and humidity sensor, breadboard, jumper wires, and a small display screen. Ensure your Pi Zero is running the latest version of Raspbian OS and connected to your network.
Connect the DHT11 sensor to your Pi Zero using the breadboard. The sensor has three pins: VCC (power), GND (ground), and DATA. Connect VCC to the 3.3V pin on your Pi Zero, GND to any ground pin, and DATA to GPIO pin 4. Use jumper wires to make these connections secure.
For the display, connect the I2C pins from your screen to the corresponding pins on the Pi Zero. Most displays use pins SDA (GPIO 2) and SCL (GPIO 3) for communication. Power the display using the 5V and ground pins.
Install the required Python libraries by opening the terminal and running:
“`
sudo pip3 install Adafruit_DHT
sudo pip3 install RPLCD
“`
Create a new Python script to read sensor data and display it on the screen. Test each component individually before combining them. Make sure the sensor readings are accurate and the display shows clear text.
Mount everything in a weatherproof case if you plan to place it outdoors. Consider adding ventilation holes to ensure accurate readings while protecting the electronics from moisture.
Finally, set up your script to run automatically at startup by adding it to your Pi’s crontab file. This ensures your weather station begins monitoring as soon as power is applied.
Tips for Success and Troubleshooting
When starting your Raspberry Pi Zero journey, you might encounter some common challenges. Here’s how to overcome them and ensure your projects run smoothly.
First, always double-check your power supply. The Pi Zero requires a stable 5V power source with at least 1.2A output. If your project behaves erratically or keeps rebooting, an inadequate power supply is often the culprit. Use a high-quality micro USB cable and power adapter to avoid these issues.
SD card problems are another frequent stumbling block. Format your card using the official Raspberry Pi Imager tool rather than your operating system’s built-in formatter. If your Pi won’t boot, try re-imaging the SD card and ensure you’re using a card from a reputable manufacturer with at least 8GB capacity.
GPIO pin configuration often confuses beginners. Always verify pin numbers using ‘gpio readall’ command in the terminal, and remember that GPIO numbering can differ from physical pin numbering. When connecting components, double-check your wiring before powering on to avoid short circuits.
Temperature management is crucial for stable operation. The Pi Zero can run hot during resource-intensive tasks. If you notice performance throttling, consider adding a small heatsink or ensuring proper ventilation in your project enclosure.
Network connectivity issues are common in headless setups. Before removing the keyboard and monitor, confirm SSH is enabled and note down your Pi’s IP address. Create a blank file named ‘ssh’ (no extension) in the boot partition to enable SSH on first boot.
Keep your system updated by regularly running ‘sudo apt update’ and ‘sudo apt upgrade’ commands. However, avoid updating mid-project as this might break dependencies.
Finally, maintain a backup of your working SD card image once you’ve got everything set up correctly. This saves time if you need to start fresh or replicate your project setup later.
The Raspberry Pi Zero opens up a world of exciting possibilities for makers and tech enthusiasts of all skill levels. As we’ve explored in this guide, these compact yet powerful boards can transform into everything from retro gaming consoles to smart home controllers. The projects we’ve covered demonstrate just how versatile and accessible the Pi Zero platform truly is, even for those just starting their journey in electronics and programming.
Whether you choose to begin with a simple LED project or dive straight into creating your own digital camera, remember that every maker started somewhere. The key is to take that first step and not be afraid to experiment. Each project builds upon basic skills that will serve as building blocks for more advanced creations in the future.
The beauty of working with the Raspberry Pi Zero lies in its low cost and extensive community support. If you encounter challenges along the way, remember that countless other enthusiasts have likely faced similar issues and shared their solutions online. Take advantage of this wealth of knowledge as you develop your projects.
We encourage you to start with the project that most excites you, gather your materials, and begin building. Document your progress, learn from your mistakes, and most importantly, have fun while creating. The skills you develop through these projects will open doors to even more exciting possibilities in the world of DIY electronics and programming.


