Unleash the power of the Raspberry Pi 2B with these exciting projects that will challenge your skills and spark your creativity. From building your own retro gaming console to creating a smart home hub, the possibilities are endless. Get ready to dive into the world of DIY electronics and programming as we explore step-by-step tutorials for beginner-friendly projects that will take your Pi 2B to the next level. Whether you’re a hobbyist looking for a new challenge or an educator seeking engaging STEM activities, these projects will inspire you to push the boundaries of what’s possible with this tiny but mighty computer. Let’s get started on your Raspberry Pi 2B adventure!
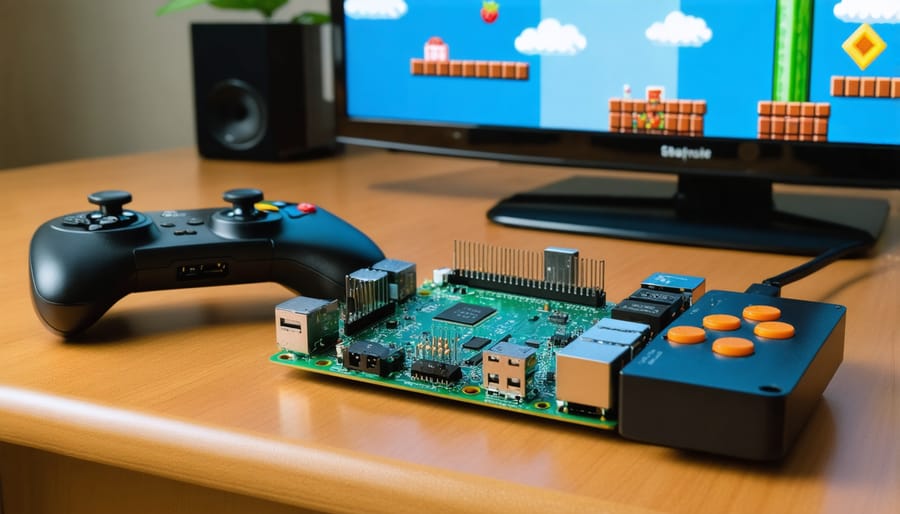
Build a Retro Gaming Console
Hardware and Software Requirements
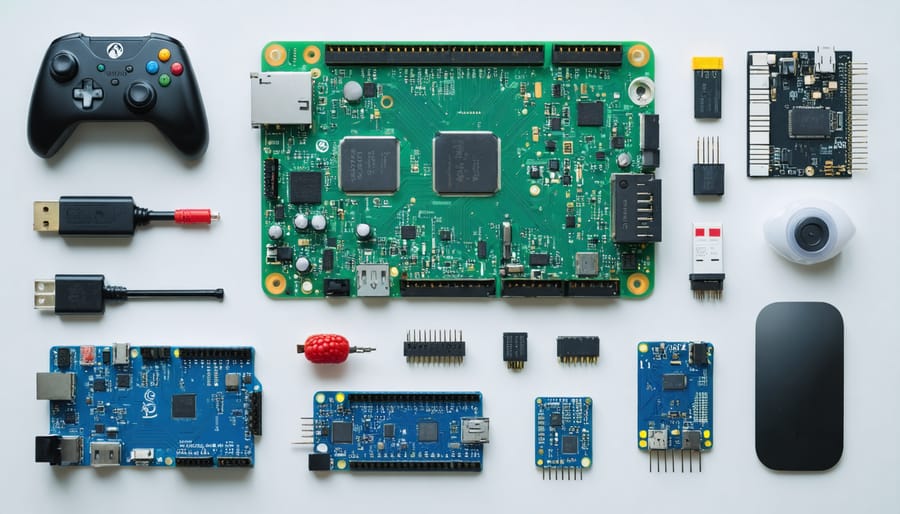
To get started with your Raspberry Pi 2B projects, you’ll need the board itself, a microSD card (8GB or larger), a power supply, and an HDMI cable. Depending on the project, additional components like sensors, motors, or a camera module may be required. On the software side, you’ll need to install an operating system like Raspbian or Pidora, which can turn your Pi into a powerful retro gaming machine. You may also need to install specific libraries or packages for certain projects, but don’t worry – our tutorials will guide you through the process step by step.
Setting Up RetroPie
To set up RetroPie on your Raspberry Pi 2B, start by downloading the latest RetroPie image from the official website. Write the image to a microSD card using a tool like Etcher. Insert the microSD card into your Pi, connect a keyboard, mouse, and display, then power it on. The first boot will take some time as it expands the filesystem. Once the setup is complete, configure your controller and select the emulators you want to install. Transfer your ROMs to the corresponding folders on the microSD card. RetroPie supports a wide range of emulators, from classic systems like NES and SNES to more modern consoles like PlayStation and Dreamcast. Customize your experience by adjusting settings, adding themes, and installing additional emulators or ports. With RetroPie, your Raspberry Pi 2B becomes a versatile retro gaming machine, providing hours of nostalgic fun.
Loading ROMs and Playing Games
To load ROMs and play games on your Raspberry Pi 2B gaming console, first ensure you have a compatible microSD card with sufficient storage. Download the desired game ROMs from reputable sources and transfer them to the microSD card. Insert the card into your Pi, boot up the gaming console software, and navigate to the ROM directory. Select the game you want to play and enjoy the nostalgic gaming experience on your DIY console. Experiment with different emulators and controllers to customize your setup and optimize performance.


Create a Personal Cloud Storage Device
Required Components
To get started with your Raspberry Pi 2B projects, you’ll need the Pi board itself, a power supply, microSD card (8GB+), HDMI cable, and a USB keyboard and mouse. Download the Raspbian operating system and flash it to the microSD card. Other components may include sensors, LEDs, breadboards, and jumper wires, depending on your specific project.
Installing and Configuring Nextcloud
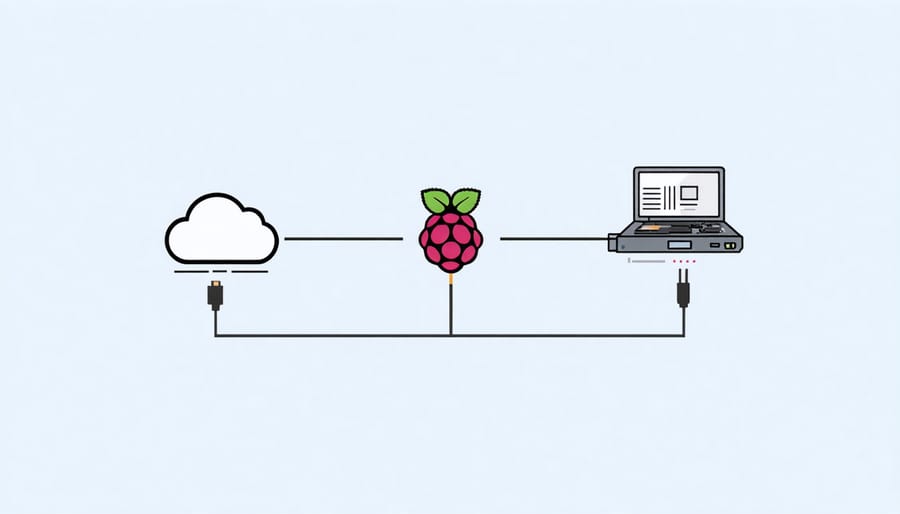
To install and configure Nextcloud on your Raspberry Pi 2B, start by updating the system and installing the required dependencies. Next, download the latest Nextcloud server archive and extract it to the web server directory. Create a new MySQL database and user for Nextcloud, then configure the web server to point to the Nextcloud directory. Access the Nextcloud web interface and follow the setup wizard, providing the database details and admin account information. Once the installation is complete, you can start using your Raspberry Pi as a personal cloud storage solution. Customize your Nextcloud instance by installing apps, setting up user accounts, and configuring security options like SSL/TLS encryption. With a bit of tinkering, you’ll have a powerful and flexible self-hosted cloud platform running on your Raspberry Pi 2B, giving you complete control over your data.
Accessing Your Personal Cloud
To access your personal cloud from other devices, simply open a web browser and enter your Raspberry Pi’s IP address followed by the port number (e.g., 192.168.1.100:8000). Log in with your username and password to securely access your files from anywhere on your local network. You can also set up port forwarding on your router to enable remote access over the internet, allowing you to retrieve your files on the go.
Set Up a Home Security Camera System
Gathering Supplies
To tackle your Raspberry Pi 2B projects, you’ll need a few essential supplies. Start with the Raspberry Pi camera module, which enables exciting possibilities like home security and photography projects. Don’t forget a protective case to keep your Pi safe. On the software side, you’ll want to install Raspberry Pi OS and any project-specific libraries or tools.
Assembling and Configuring the Camera
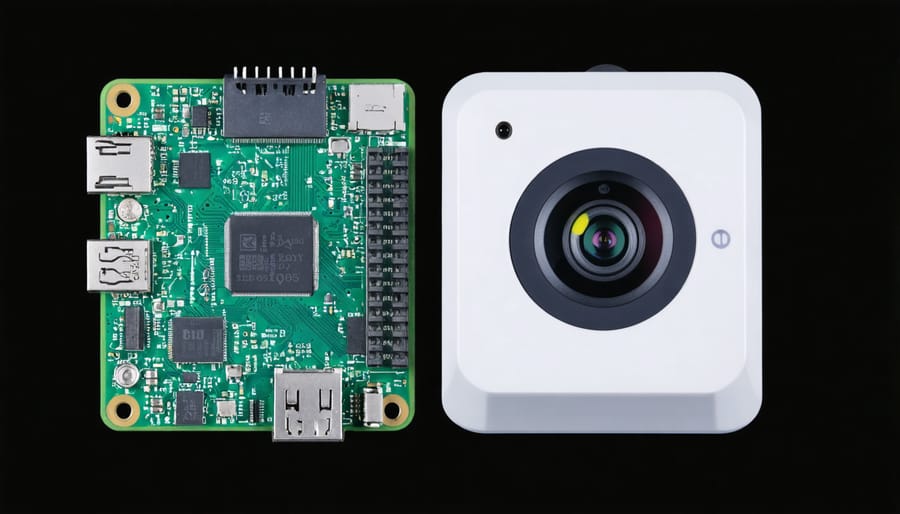
To assemble your Raspberry Pi camera module, carefully connect the ribbon cable to the CSI port on your Pi 2B. Ensure the cable is oriented correctly, with the blue side facing the USB ports. Secure the camera module to your Pi using the provided mounting holes or a compatible case.
Next, configure the software by enabling the camera interface in the Raspberry Pi configuration tool. Open the terminal and run “sudo raspi-config”, navigate to “Interfacing Options”, and select “Camera”. Choose “Yes” to enable the camera and reboot your Pi.
To test the camera, open the terminal and enter “raspistill -o image.jpg”. This command captures a still image from the camera and saves it as “image.jpg” in your current directory. If the image appears, your camera is successfully assembled and configured, ready for your exciting Pi 2B projects!

Viewing the Camera Feed
To access the camera stream remotely, you’ll need to set up port forwarding on your router and configure the Raspberry Pi’s IP address. Once that’s done, you can use a web browser or a dedicated app to view the live feed from anywhere with an internet connection. This allows you to monitor your home, garden, or any other location where you’ve set up your Raspberry Pi camera.
Advanced Security Features
The Raspberry Pi 2B can be enhanced with advanced security features like motion detection and recording. By connecting a camera module and using open-source software such as Motion or MotionEyeOS, you can transform your Pi into a smart security system. These tools allow you to configure motion detection sensitivity, set recording preferences, and even access live video feeds remotely via a web interface or mobile app. With a few simple steps, your Raspberry Pi 2B can provide an extra layer of security for your home or office.
More Fun Pi 2B Project Ideas
Media Center
The Raspberry Pi 2B is a versatile media center device, allowing you to stream your favorite movies and shows using Kodi. With its powerful hardware and open-source software, you can easily set up Kodi on your Pi 2B and enjoy a seamless streaming experience. Kodi supports a wide range of file formats and can be customized with various add-ons to enhance your viewing pleasure. Whether you want to watch the latest blockbusters or binge-watch your favorite TV series, the Raspberry Pi 2B with Kodi is an affordable and convenient solution for your home entertainment needs.
Weather Station
Turn your Raspberry Pi into a weather station by connecting sensors to monitor temperature, humidity, and barometric pressure. With a BME280 sensor and a few lines of Python code, you can collect real-time environmental data. Display the readings on an LCD screen or log them to a file for analysis. Extend the project by adding a web interface to view the data remotely or integrate with weather APIs for forecasting. For a weekend project, consider creating your own weather station with a Raspberry Pi Pico.
Web Server
The Raspberry Pi 2B can serve as a low-cost, energy-efficient web server. With a few simple steps, you can host your own website or web application right from your Pi. Install a web server like Apache or Nginx, configure your router for port forwarding, and you’re ready to serve content to the world. This project is a great introduction to server administration and web hosting, allowing you to experiment and learn in a hands-on way. Additionally, setting up remote access might be useful, making your web server even more versatile.
Network Ad-Blocker
Set up a Raspberry Pi as a network-wide ad-blocker to enjoy ad-free browsing on all connected devices. By configuring the Pi-hole software on your Raspberry Pi 2B, you can filter out ads, trackers, and malicious domains at the DNS level. This efficient solution not only improves your browsing experience but also helps protect your privacy and network security. With a few simple steps, you can have your own custom ad-blocking solution up and running in no time.
The Raspberry Pi 2B opens up a world of exciting possibilities for tech enthusiasts, hobbyists, and educators alike. By diving into these hands-on projects, you’ll gain valuable skills in programming, electronics, and problem-solving while having a blast creating unique and functional devices. Whether you’re a beginner or an experienced tinkerer, the Pi 2B provides a fantastic platform to bring your ideas to life. So what are you waiting for? Grab your Raspberry Pi 2B and start exploring the limitless potential of this tiny but mighty computer. For even more inspiration and guidance, check out the official Raspberry Pi documentation and the thriving Raspberry Pi community forums. Happy making!


